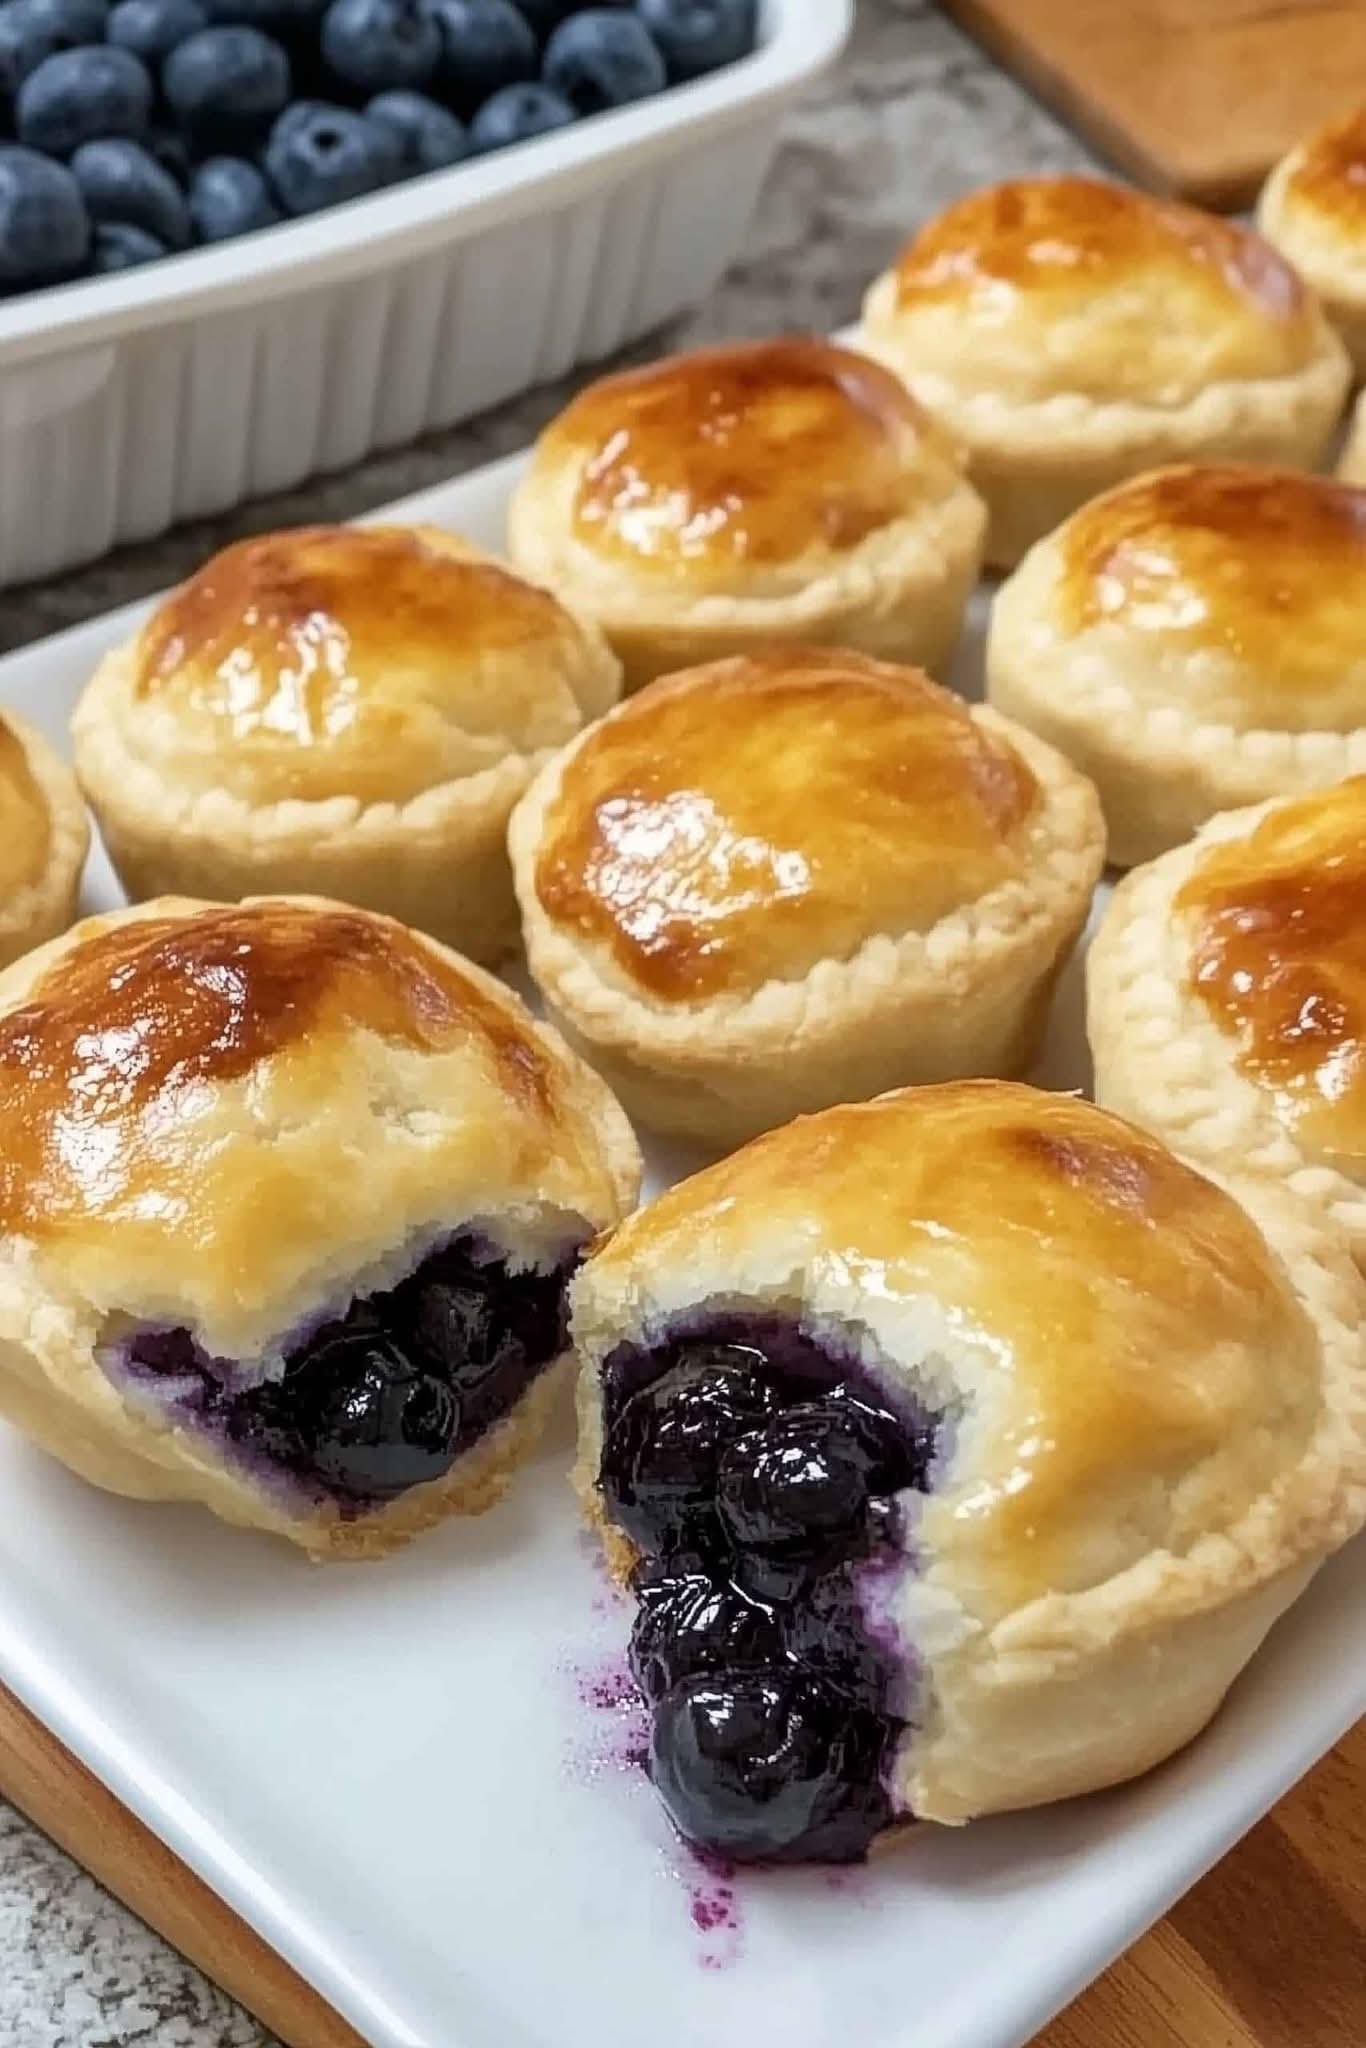
Blueberry Pie Bombs
Ingredients
Blueberry filling
-
2 cups fresh or frozen blueberries (if frozen, don’t thaw fully)
-
⅓ cup granulated sugar (adjust to taste)
-
1 tbsp lemon juice
-
1 tbsp cornstarch + 2 tbsp cold water (slurry)
-
Pinch of salt
-
½ tsp vanilla extract (optional)
-
Zest of ½ lemon (optional, brightens flavor)
Dough — choose one
Quick (fast):
-
1 (16-oz) can refrigerated biscuit dough (buttermilk biscuits), or 1 tube refrigerated pie crusts cut into rounds
Scratch pastry:
-
2 ½ cups all‑purpose flour
-
1 tsp salt
-
1 tbsp granulated sugar
-
1 cup (2 sticks) cold unsalted butter, cubed
-
6–8 tbsp ice water
(You’ll roll to ~1/8″ and cut rounds.)
Finishes / optionally
-
1 egg + 1 tbsp water (egg wash for baking)
-
¼ cup granulated sugar + 1 tsp ground cinnamon (for coating)
-
Powdered sugar or simple glaze (½ cup powdered sugar + 1–2 tbsp milk + ½ tsp vanilla)
Frying oil (if frying)
-
Neutral oil (vegetable, canola, or sunflower), enough for 2–3″ deep; about 4 cups depending on pan
Blueberry filling — quick method (make first)
-
In a small saucepan, combine blueberries, sugar, lemon juice, and pinch of salt. Cook over medium heat, stirring occasionally, until berries release juices and mixture simmers (4–6 min).
-
Stir the cornstarch slurry, add to pan and stir until it thickens (30–60 sec). Remove from heat, stir in vanilla and lemon zest if using. Let cool to room temp (you want it warm or cool — very hot filling will melt dough when assembling).
(If you want larger, very jammy filling, mash a few berries with a fork.)
Dough prep (two options)
Biscuit / canned dough:
-
Separate biscuits and flatten each to ~3–3½” rounds with your palm or rolling pin.
Homemade pastry:
-
Combine flour, salt, and sugar. Cut in cold butter until pea-size. Add ice water, mix just until dough holds. Chill 20–30 min. Roll to 1/8″ thickness and cut 3–3½” rounds.
Assembly (makes ~12–16)
-
Place a tablespoon (level) of cooled blueberry filling in center of each dough round. Don’t overfill — 1 Tbsp is usually perfect.
-
Brush edge of dough lightly with water or egg wash. Fold over into a half-moon and press edges together. For the “bomb” look, bring the two outer corners together and pinch them to form a little pouch (or just crimp the seam with a fork). Make a small steam vent with a paring knife.
-
Place assembled bombs on a tray lined with parchment.
Cooking methods
Oven-baked (healthier, easier)
-
Preheat oven to 400°F (205°C).
-
Place bombs on parchment-lined sheet 1″ apart. Brush with egg wash. Sprinkle with sugar or cinnamon-sugar if desired.
-
Bake 14–18 minutes until golden brown. Remove and cool 5–10 minutes (filling will be very hot).
-
Optional: drizzle glaze or dust with powdered sugar.
Deep-fried (crispy, indulgent)
-
Heat oil in a heavy pot to 350°F (175°C) (use a thermometer). Fry 2–3 bombs at a time, turning, until golden brown — about 2.5–3.5 minutes total depending on size. Don’t overcrowd.
-
Drain on paper towels, toss in cinnamon-sugar while warm, or glaze after cooling slightly.
Safety tip: filling is extremely hot inside — let cool at least 5 minutes before biting.
Variations & add-ins
-
Add 2–3 crushed graham cracker crumbs or a small cube of cream cheese into the filling for texture/creaminess.
-
Use mixed berries or cherry pie filling instead of blueberry.
-
Add 1/4 tsp ground cinnamon or a pinch of cardamom to the filling.
-
Make mini versions with 2″ rounds for bite-sized bombs (adjust cooking time downward slightly).
Make-ahead & storage
-
Fillings: make up to 4 days ahead; refrigerate in airtight container.
-
Assembled, unbaked bombs: freeze on a tray until firm, then transfer to a bag. Bake from frozen: add 4–6 minutes to baking time (still 400°F).
-
Cooked bombs: store refrigerated 3–4 days. Reheat in a 350°F oven 6–8 minutes to crisp up; microwave will make them soggy.
Approximate yield & timing
-
Yield: 12–16 bombs (depending on size)
-
Active time: ~30–45 minutes (includes making filling & assembly)
-
Total time (baked): ~45–60 minutes
If you want, I can:
-
convert this to a printable recipe card,
-
scale it to serve more people,
-
provide a gluten-free pastry variant,
-
or write step-by-step photos for assembly.
Which would you like next? 😊
