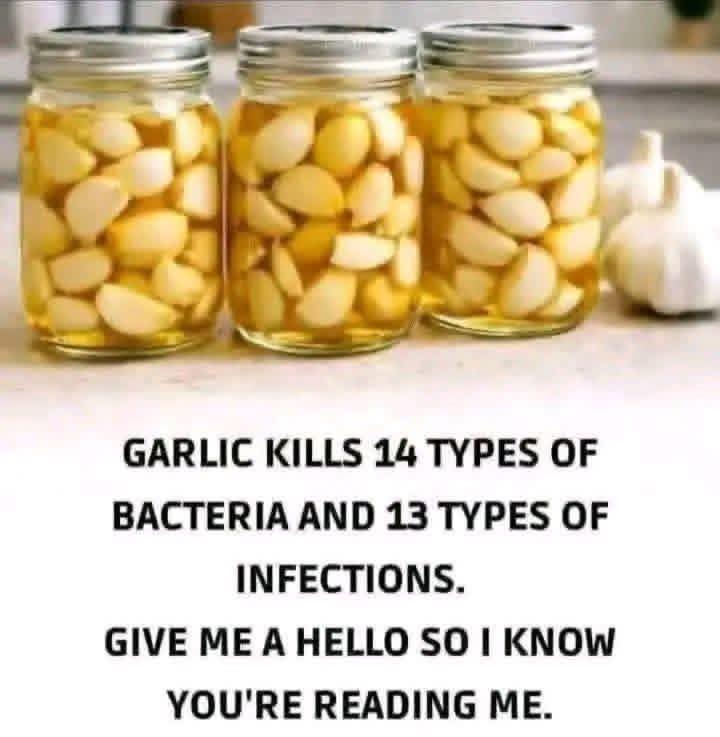
Ahhh, fermented honey garlic 🍯🧄—liquid gold. Simple, magical, and somehow better the longer it sits. Here’s how to make it safely and properly.
Fermented Honey Garlic (Jars)
What you’ll need
- Raw, unpasteurized honey (very important)
- Fresh garlic cloves, peeled
- Clean glass jars with loose-fitting lids
How to make it
- Fill the jar
Add garlic cloves to the jar, filling it about ⅓–½ full. - Add honey
Pour honey over the garlic until fully submerged, leaving about 1 inch of headspace. - Stir & cap
Stir with a clean utensil to release air bubbles.
Screw the lid on loosely (or use a fermentation lid). - Burp daily (first 1–2 weeks)
Keep the jar at room temperature, out of direct sunlight.
Open daily to release gas, then gently turn the jar upside down to coat garlic. - Watch the magic
Bubbles will appear in a few days—this is normal.
Honey will thin out as fermentation starts. - Ferment time
- Minimum: 2–4 weeks
- Best flavor: 2–3 months
- Keeps improving for up to a year+
How you know it’s going right
- Tiny bubbles rising
- Sweet, garlicky, lightly funky aroma
- Garlic cloves float at first (normal!)
Red flags ❌
- Mold (fuzzy, green/black/white growth on surface)
- Rotten or cheesy smell (not sweet-fermented)
If you see mold → discard the entire jar.
Storage
- After 4 weeks, you can move it to the fridge (slows fermentation)
- Or keep at cool room temp if you’re burping occasionally
How to use it
- Drizzle honey on pizza, roasted veg, or cornbread
- Use honey in salad dressings or marinades
- Chop garlic into sauces, stir-fries, or aioli
- Take a spoonful when you feel a cold coming 👀
Pro tips
- Flip the jar daily to keep garlic submerged
- If honey crystallizes: warm the jar gently (no microwave)
- Label jars with the start date
If you want, I can walk you through:
- 🫙 Large-batch scaling
- 🧄 Black garlic honey
- 🌶️ Spicy honey garlic (chilies added)
- ⚠️ Botulism safety—what’s real vs myth
Just say the word 😌
