A lot of people are surprised by how well one simple, common ingredient—baking soda—can make tile grout look almost new again. It’s effective, gentle, and safe for most surfaces.
Here’s the safe, correct way to use it (with no harmful chemical mixing):
⭐ The Common Ingredient: Baking Soda
Baking soda is mildly abrasive, lifts stains, deodorizes, and helps brighten grout without damaging it.
🧼 How to Make Grout Look New With Baking Soda
What you need
-
Baking soda
-
Warm water
-
Old toothbrush or small scrub brush
-
Optional for extra cleaning power: white vinegar used separately, not mixed in a combined bottle
1. Make a paste
Mix:
-
3 parts baking soda
-
1 part water
Stir until it forms a spreadable paste.
2. Apply to grout
-
Spread the paste directly onto the grout lines.
-
Let it sit 5–10 minutes.
3. Scrub
Use a toothbrush or grout brush and work in small circles.
4. Rinse and wipe
Use warm water and a clean cloth to remove residue.
You’ll already see a big difference.
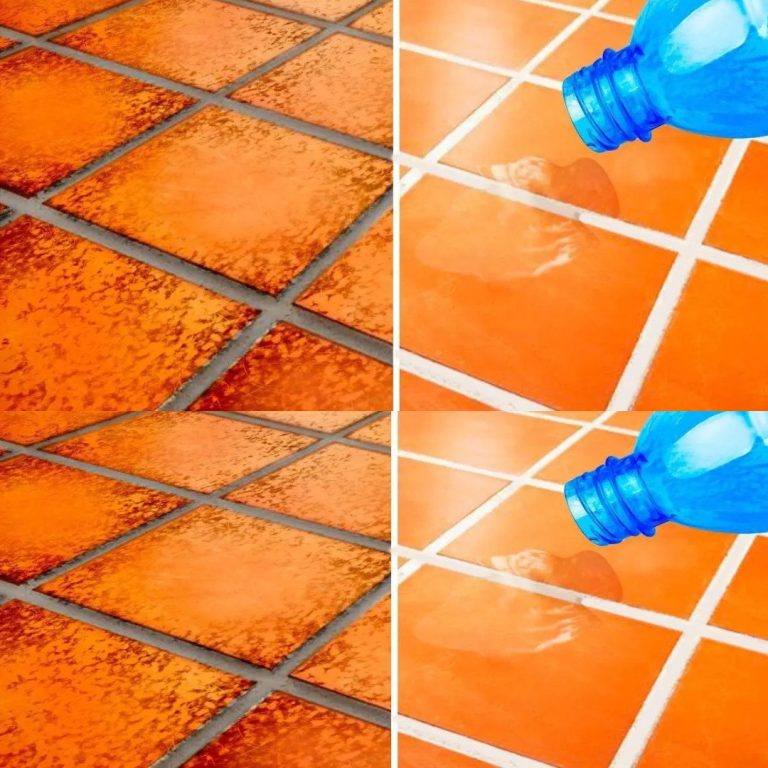
⭐ Optional Boost: The Vinegar Spray Method
If your grout is extra dirty, you can spray vinegar on top of the dried baking soda paste.
It will foam and help break down grime.
Important safety note:
✔ Safe to use vinegar and baking soda together on the surface
✘ Do not mix them in a closed bottle — it can build pressure.
After foaming, scrub again and rinse.
🧹 For Really Stubborn Stains
You can safely try:
-
A paste of hydrogen peroxide + baking soda
-
A store-bought oxygen bleach grout cleaner (gentler than chlorine bleach)
Avoid mixing bleach with vinegar or ammonia — those combos create toxic fumes.
If you want, I can guide you to the best method for your exact tile type (ceramic, porcelain, stone, etc.), since some surfaces should avoid acidic cleaners like vinegar.
